
How Dilapidation Reports Protect You from Liability During Renovations or Construction Projects
If you’re about to start a build, an extension, or anything that involves excavation or demolition, a dilapidation report is one of the cheapest forms of protection you’ll ever buy. We’ve inspected enough Brisbane sites to know how this plays out: work finishes, a neighbour points at a cracked cornice or a hairline split in their garage slab, and suddenly you’re the one being asked to pay for it.
Short answer: a dilapidation report is a dated, photographic record of the condition of the surrounding properties before your work starts. If a damage claim lands later, the report shows exactly what was already there — so you’re not wearing the cost of cracks and movement you never caused.
At Zoom Building & Pest, we’re a QBCC-licensed inspection company (QBCC licence 15279880) covering Brisbane and the Moreton Bay region. Below is what these reports actually do, what goes in them, and when it’s worth booking one.
What a dilapidation report actually is
A dilapidation report is a detailed record of a property’s existing condition, taken before construction or renovation work begins. It captures the things that cause arguments later — cracks in walls and ceilings, movement in slabs and driveways, damage to fences, retaining walls and paths — through date-stamped photographs and written notes, and sometimes simple diagrams for larger sites.
It matters most when you’re building close to existing structures. Excavation, piling, demolition and even heavy vehicle movement transmit vibration through the ground, and that’s the moment a neighbour is most likely to blame your project for damage that was already there. The report is your before photo.
Why Brisbane builders and owners get one: liability
It defeats unfounded damage claims
Construction near a boundary almost always produces some movement or vibration. Without a baseline record, it’s your word against the neighbour’s. With one, you can show a crack was pre-existing — which usually ends the conversation before it becomes a formal claim or a QCAT dispute.
It keeps disputes out of court
Dilapidation reports are credible, independent evidence. When a disagreement does come up, a clear before-and-after comparison resolves most of them quickly and informally, instead of dragging into the kind of legal stoush that stops your job and burns your margin.
It often satisfies council and insurer conditions
For projects that affect neighbouring properties or public infrastructure, Brisbane councils frequently require a dilapidation report as a condition of approval — especially in tight, heritage or high-density areas. Some insurers also look for one as part of underwriting building works. Not having it can hold your approval up or complicate a claim.
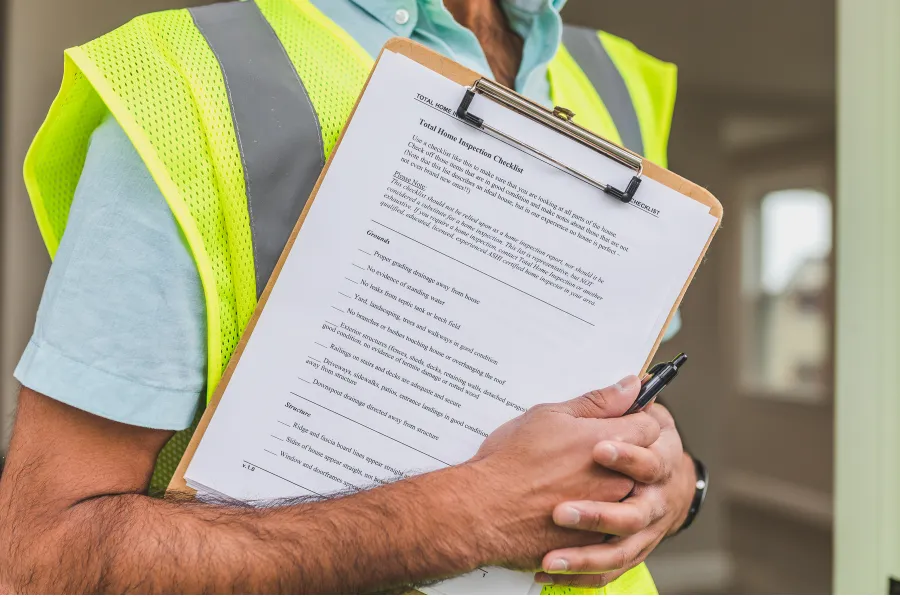
What’s inside the report
A proper report isn’t just a folder of photos. Ours sets out the property address, inspection date, who commissioned it and a description of the proposed works, then states clearly which areas were inspected and which weren’t. From there it covers:
- Date-stamped photographs — wide and close-up shots of interiors, exteriors, driveways, fences and shared boundaries, each one labelled and tied to a written note.
- Written observations — plain-language descriptions such as “hairline crack in lounge wall beside window” or “minor sinking at driveway edge.”
- Diagrams where they help — simple sketches to pin down location on larger or more complex sites.
- Site conditions — weather and lighting at the time, which matters for outdoor features.
- Inspector details — qualifications and licence numbers, so the report holds up if it’s ever relied on.
When you should book one
As a rule of thumb, book a dilapidation report before any work that disturbs the ground or shakes the structures around you:
- Before excavation or earthworks — digging, piling and bulk earthworks are the highest-risk activities for neighbouring damage.
- Before demolition — even minor vibration travels; a report confirms the state of nearby buildings before the first wall comes down.
- In heritage or tightly built-up areas — older neighbours and shared walls mean stricter rules and more scrutiny.
- When council or a developer requires it — if it’s a condition of approval, the job can stall without it.

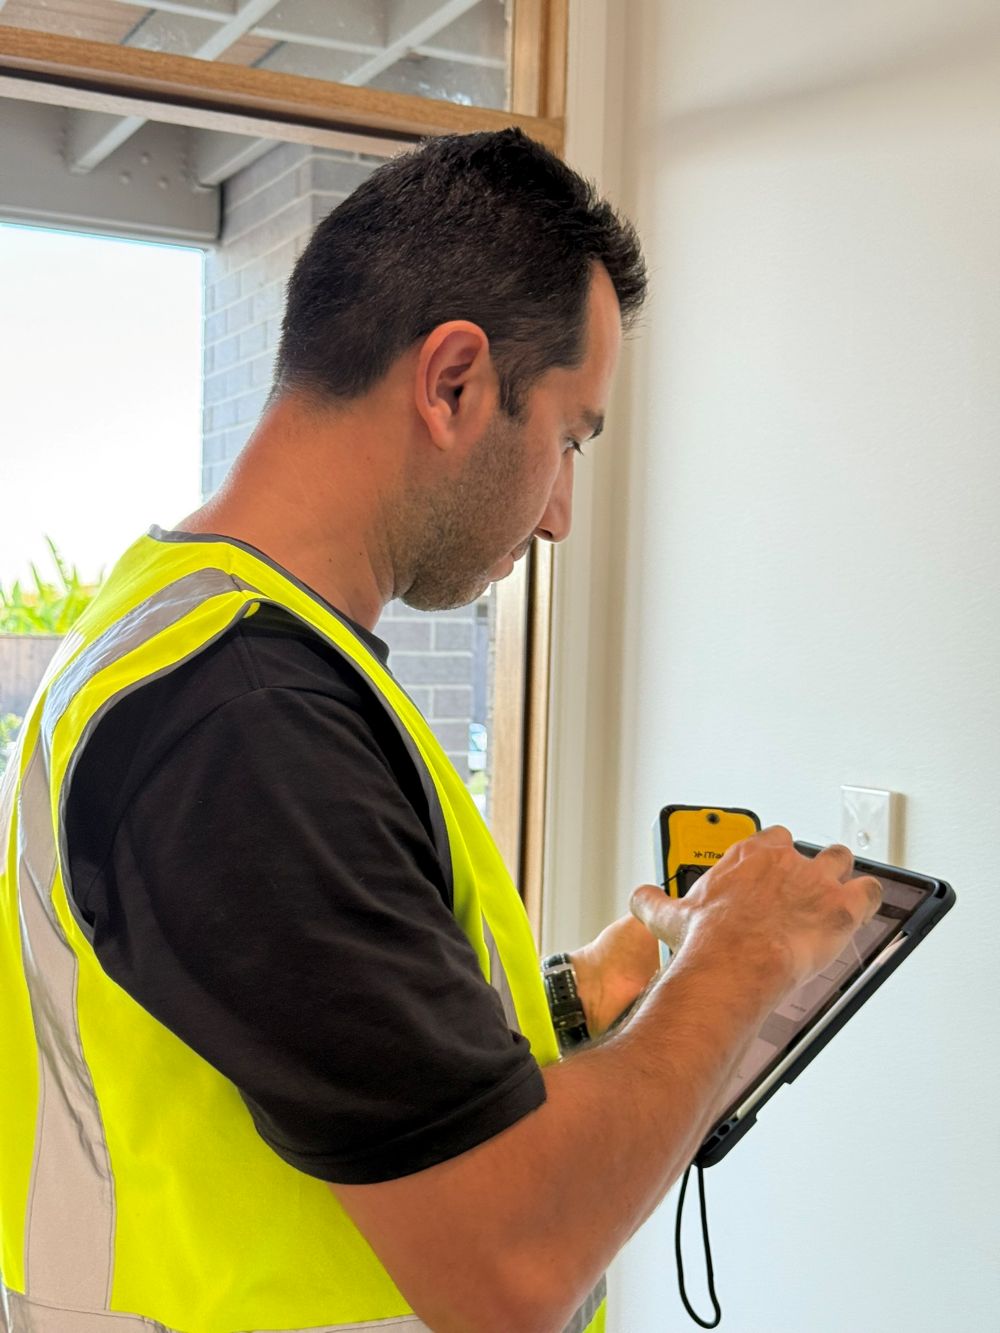
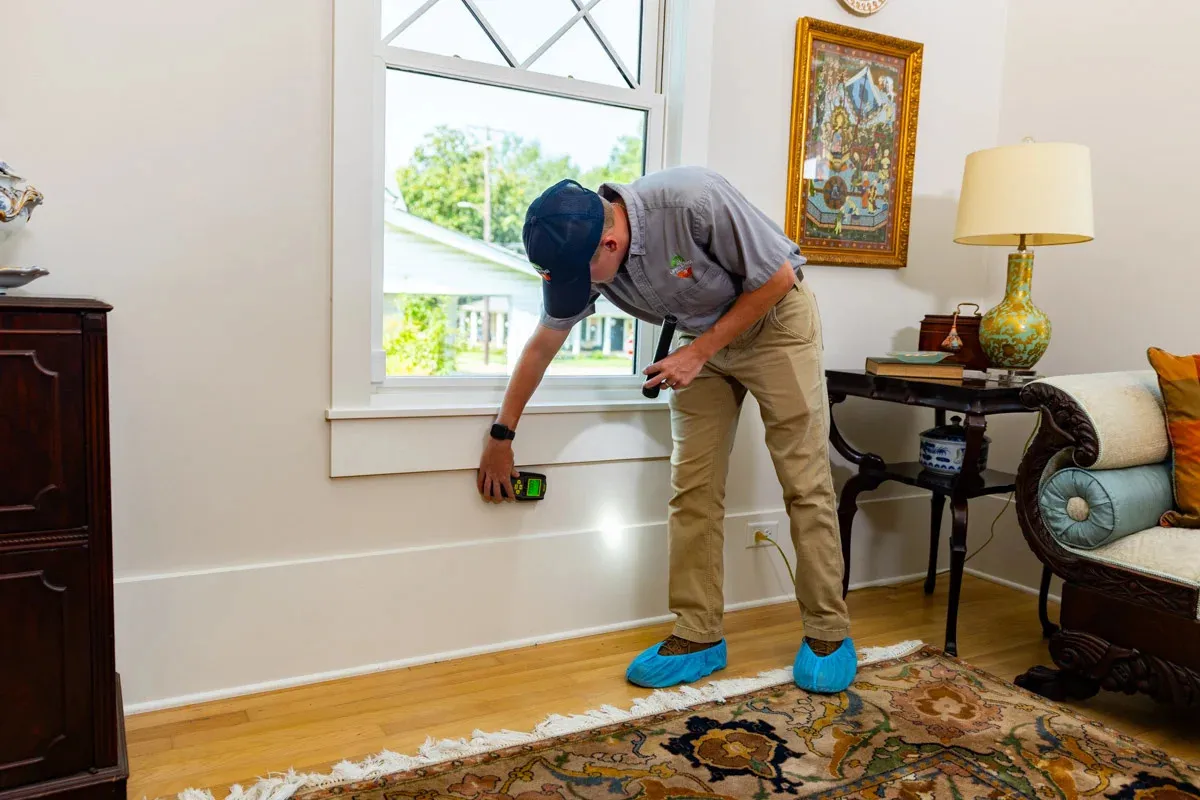
How the process works with us
It’s straightforward. You tell us the scope and which properties need documenting, and we confirm a quote based on the size and complexity of the site. We then attend and record existing conditions in detail — a typical residential inspection runs one to two hours — and deliver a written, photographic report you can hand to your builder, your insurer or council. Usual turnaround is one to two business days. With that on file, you start work knowing your position is documented.
What it protects you from — a Brisbane example
A homeowner in Brisbane commissioned a dilapidation report before a two-storey extension. Months later the neighbour reported a crack in their garage wall and pointed at the build. The report showed the same crack, photographed and dated, before a single tradie had been on site. The claim went nowhere — no dispute, no repair bill, no liability. That’s the entire point: a small upfront cost that takes a potentially expensive argument off the table.
Frequently Asked Questions
Zoom Building & Pest Inspections is owned and run by Ben Nejad of B N Total Construction Pty Ltd — a QBCC-licensed building and pest inspection company (QBCC licence 15279880) servicing Brisbane and the Moreton Bay region. For a dilapidation report or a building and pest inspection, call 0481 826 856 or request a quote through our site.
What Others Are Reading:


Our Services
Get A Free Quote
Contact us today for a free, no-obligation quote on your building and pest inspection.